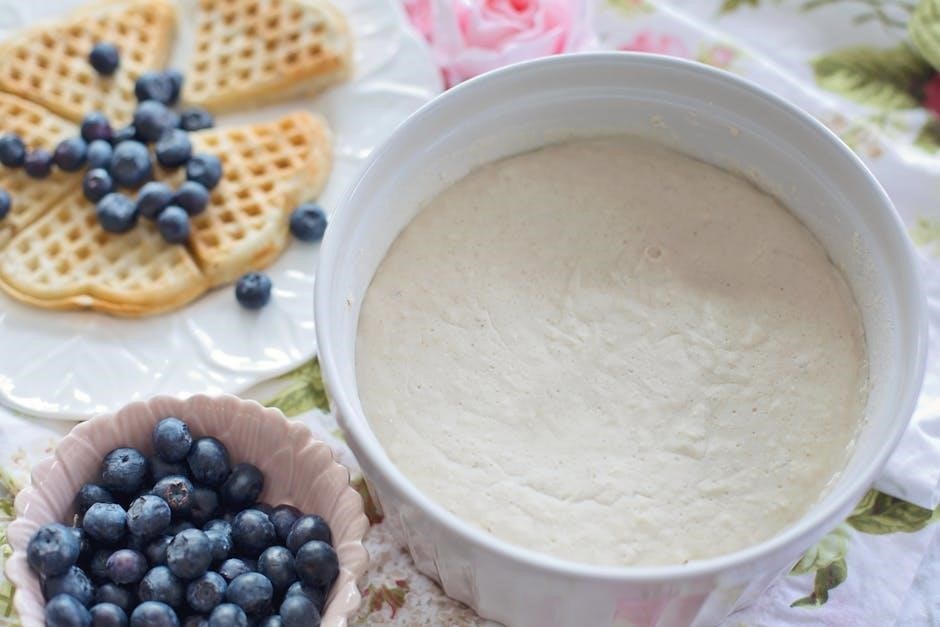
A sourdough starter is a natural mixture of flour and water that ferments‚ creating a bubbly‚ active culture. This foundational ingredient is essential for baking sourdough bread‚ offering a unique flavor and texture. With patience and proper care‚ you can cultivate your own starter at home‚ using simple‚ printable instructions to guide you through the process.
What is a Sourdough Starter?
A sourdough starter is a naturally occurring mixture of flour and water that ferments‚ creating a bubbly‚ active culture. It is formed by the interaction of wild yeast and lactic acid bacteria present in the flour‚ which feed on sugars and produce carbon dioxide. This process gives the starter its characteristic bubbles and sour aroma. Over time‚ the starter becomes a living‚ breathing ingredient that can be used to leaven bread‚ replacing the need for commercial yeast. Proper care and feeding are essential to maintain its health and activity.
Why Create a Sourdough Starter?
Creating a sourdough starter offers a fun and rewarding DIY baking experience. It allows you to harness natural yeast for leavening‚ producing bread with unique flavors and textures. A sourdough starter is cost-effective‚ requiring only flour and water‚ and can be maintained long-term with proper care. It’s a healthier alternative to commercial yeast and enhances bread’s nutritional value. Plus‚ it’s versatile for use in pancakes‚ waffles‚ and more. Cultivating a starter connects you to traditional baking methods and provides a sense of accomplishment with every loaf.
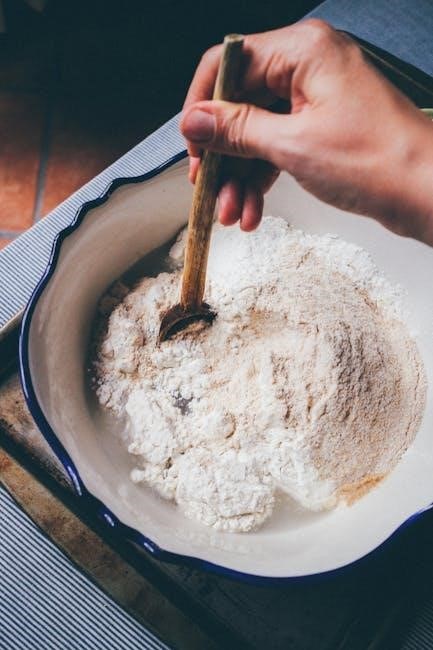
Ingredients and Equipment Needed
Flour (whole wheat‚ rye‚ or all-purpose) and water are essential. Use a clean‚ non-reactive container (glass‚ stainless steel‚ or food-grade plastic) and a wooden spoon or spatula.
Flour Selection for Sourdough Starter
Choose high-protein flours like whole wheat‚ rye‚ or bread flour for a robust sourdough starter. Whole wheat and rye flours promote microbial activity‚ while bread flour enhances elasticity. For a more sour flavor‚ start with rye or whole wheat‚ then transition to all-purpose or bread flour. Avoid bleached or bromated flours‚ as they can inhibit natural yeast growth. Using a mix of flours can create a balanced starter with diverse flavor profiles. Always use fresh‚ non-chlorinated water to support fermentation.
Water Requirements
Use non-chlorinated water to create and feed your sourdough starter‚ as chlorine can inhibit microbial growth. Filtered or bottled water is ideal if your tap water contains high chlorine levels. The water should be cool or room temperature‚ around 70°F to 75°F‚ to promote healthy fermentation. Avoid using boiling or icy water‚ as it can harm the natural yeast and bacteria. Maintain a consistent water-to-flour ratio‚ typically 1:1 by weight‚ to ensure proper hydration and activity. Adjustments may be needed based on humidity and flour absorption.
Recommended Containers and Tools
Choose a non-reactive container‚ such as glass‚ ceramic‚ or stainless steel‚ to house your sourdough starter‚ as metal can react with acids produced during fermentation. A wide-mouth container allows for easy mixing and observation. Essential tools include a measuring cup‚ digital scale‚ wooden spoon‚ and clean cloth for covering. These tools ensure precise measurements and proper handling‚ fostering a healthy environment for your starter to thrive. Keep everything clean to prevent contamination and maintain the starter’s balance. Consistency in equipment helps achieve predictable results.
Step-by-Step Guide to Creating a Sourdough Starter
Begin by mixing equal parts of flour and water in a clean‚ non-reactive container. Let it rest at room temperature to initiate fermentation‚ then feed it regularly to encourage growth and activity‚ forming a bubbly‚ active starter essential for baking sourdough bread.
Day 1: Mixing Flour and Water
Start by combining 1 cup of whole wheat or rye flour with 1/2 cup of cool‚ non-chlorinated water in a clean‚ non-reactive container. Mix until smooth‚ cover loosely‚ and let sit at room temperature. This initial step activates natural yeast and bacteria‚ beginning the fermentation process. Keep it away from drafts and let it rest for 24-48 hours to develop the starter’s foundation. This simple mixture is the first step toward creating a vibrant‚ active sourdough starter for baking.
Feeding Schedule for the First Week
Feed your sourdough starter once daily for the first week. Use a 1:1 ratio of flour to water by weight. For example‚ add 50g of flour and 50g of water. Mix thoroughly‚ cover‚ and let rest. After 3-4 days‚ increase feedings to twice daily to boost activity. Monitor for bubbles‚ a sour smell‚ and a doubling in size—signs of a healthy starter. Adjust flour types if needed to enhance fermentation; Printable schedules can help track progress and ensure consistency during this critical phase of development.
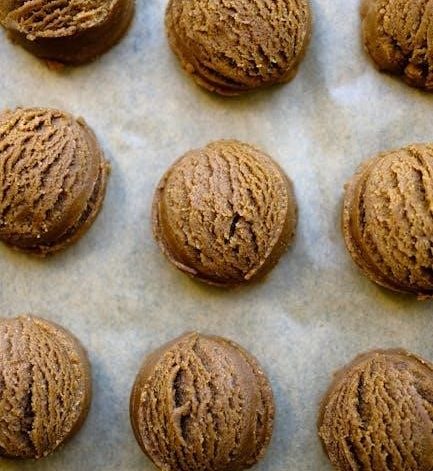
Signs of a Healthy Starter
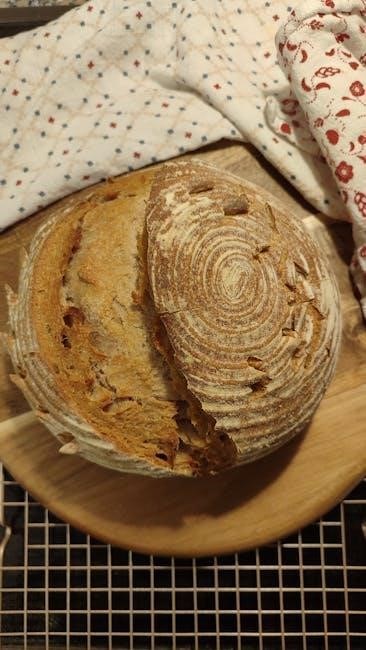
A healthy sourdough starter is bubbly‚ nearly frothy‚ with a lively‚ slightly sour aroma. It should double in size within 4-6 hours after feeding‚ indicating active fermentation. Look for a smooth‚ even texture and a pale‚ creamy color. A healthy starter is vibrant‚ with consistent activity and a noticeable increase in volume. These signs confirm that your starter is thriving and ready for baking. Observing these daily will help you gauge its health and readiness for use in sourdough recipes.
Maintaining Your Sourdough Starter
Regular feeding and proper storage are key to keeping your sourdough starter healthy. Feed it once daily with equal parts flour and water‚ using non-reactive containers. Store it in the fridge for less frequent use‚ feeding it weekly. For active baking‚ keep it at room temperature and feed daily. Monitor its texture and aroma‚ ensuring it remains bubbly and slightly sour. Adjust flour types as needed for flavor and activity‚ and transition to different flours once established. Cleanliness and consistency are essential for long-term health and baking success.
Long-Term Care and Feeding Tips
For long-term health‚ feed your sourdough starter once daily with equal parts flour and water. Use non-reactive containers like glass or ceramic. Store it in the fridge if baking less frequently‚ feeding it weekly. Before use‚ allow it to come to room temperature and refresh it. For active use‚ keep it at room temperature and feed daily. Always use filtered water and avoid metal utensils. Transition to different flours gradually‚ starting with small proportions. Clean the container regularly to prevent mold. A healthy starter should be bubbly‚ frothy‚ and slightly sour-smelling‚ ready for baking.
Storing the Starter (Active vs. Dormant)
Store your sourdough starter in two ways: active or dormant. For active use‚ keep it at room temperature (around 70-75°F) and feed it daily. This ensures it remains bubbly and ready for baking. For less frequent use‚ store it in the refrigerator‚ feeding it once a week. A dormant starter can be kept for months with proper care. Always use non-reactive containers like glass or ceramic and avoid metal. Before using a refrigerated starter‚ allow it to come to room temperature and refresh it with fresh flour and water.
Troubleshooting Common Issues
If your starter isn’t bubbling‚ check the temperature‚ flour type‚ and feeding schedule. Adjusting flour varieties can enhance activity and resolve common issues effectively.
Why Your Starter Isn’t Bubbling
Adjusting Flour Types for Better Activity
Using the right flour is crucial for a vibrant sourdough starter. Start with whole wheat or rye flour to establish the starter‚ as they contain more nutrients and natural yeast. Gradually transition to bread or all-purpose flour for increased activity. Avoid bleached or low-protein flours‚ as they can hinder fermentation. Experimenting with different ratios of flours can enhance microbial growth and strength. Always use fresh‚ high-quality flour to ensure optimal results and a lively‚ bubbly starter.
To enhance your sourdough starter’s activity‚ consider transitioning between flour types. Start with whole wheat or rye flour for its higher nutrient content‚ which promotes initial fermentation. Gradually introduce bread or all-purpose flour to increase bubbles and vigor. Avoid using bleached or low-protein flours‚ as they can slow microbial growth. Experiment with ratios‚ such as 25% whole wheat and 75% bread flour‚ to find the balance that works best for your starter. Fresh‚ high-quality flour ensures optimal activity and a healthy‚ bubbly culture.
Printable Sourdough Starter Instructions
Download a step-by-step guide with feeding schedules‚ troubleshooting tips‚ and recipes. Perfect for beginners‚ this printable resource ensures a thriving sourdough starter at home.
Downloadable Feeding Schedule
A downloadable feeding schedule provides a clear‚ day-by-day guide to creating and maintaining your sourdough starter. It includes specific ratios of flour and water‚ timing‚ and tips for transitioning between flours. Printable charts and checklists help track progress‚ ensuring consistency and activity. Whether you’re starting from scratch or refreshing a dormant starter‚ this schedule offers a structured approach to fostering a healthy‚ bubbly culture. Download‚ print‚ and follow along for a hassle-free sourdough journey!
Step-by-Step Printable Guide
This printable guide offers a detailed‚ easy-to-follow process for creating and maintaining a sourdough starter. It includes a 7-day feeding schedule with specific ratios of flour and water. Each day’s instructions are clearly outlined‚ from the initial mix of flour and water to the final active‚ bubbly starter. Tips for storage‚ troubleshooting‚ and transitioning flours are also included. Designed for beginners‚ this guide ensures a smooth journey from creation to baking. Print it out and keep it handy for consistent results!
Advanced Techniques for Sourdough Enthusiasts
Explore methods to enhance sourness and complexity in your sourdough starter. Adjust flour types‚ feeding schedules‚ and environments to refine your starter’s performance for artisanal baking.
Creating a More Sour Starter
To achieve a tangier sourdough starter‚ experiment with flour types and feeding schedules. Use rye or whole wheat flour for a more robust sour flavor. Ferment at cooler temperatures (around 65°F to 70°F) to slow yeast activity‚ allowing lactic acid to develop. Extend feeding intervals to once daily‚ using a 1:3:4 (starter:water:flour) ratio. Maintain consistency‚ and after 7-10 days‚ your starter should display a noticeable increase in sourness and aroma‚ perfect for crafting more complex breads.
Transitioning to Different Flours
Transitioning your sourdough starter to different flours can enhance its versatility and flavor profile. Start by introducing a small percentage of the new flour (e.g.‚ 25%) during feedings‚ gradually increasing the proportion over several days. For example‚ transition from whole wheat to bread flour by mixing 1/4 white flour with 3/4 whole wheat initially‚ then progress to equal parts. Monitor the starter’s activity and adjust the feeding schedule as needed. This method ensures a smooth adaptation and maintains the starter’s health and vitality for diverse baking applications.
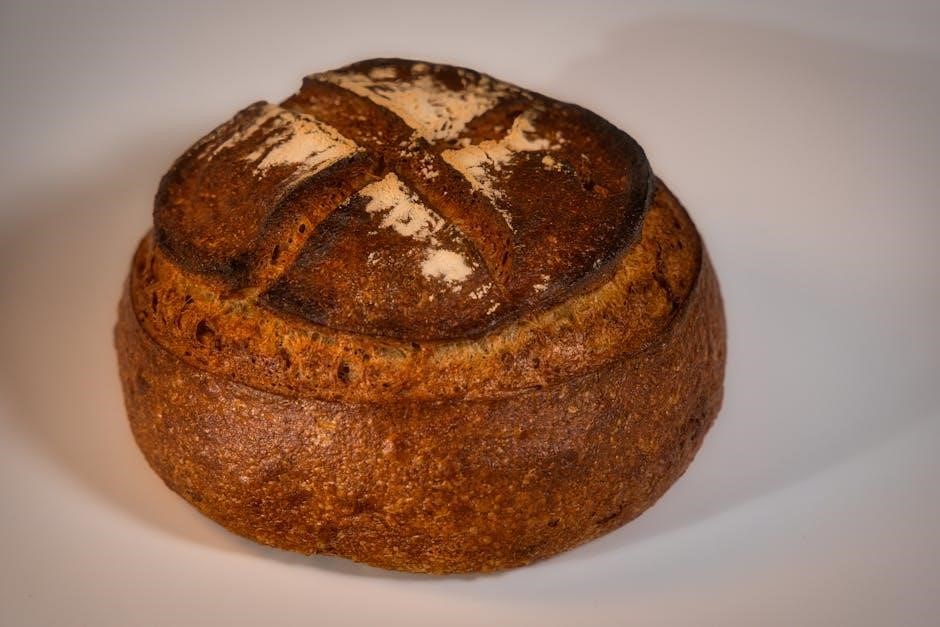
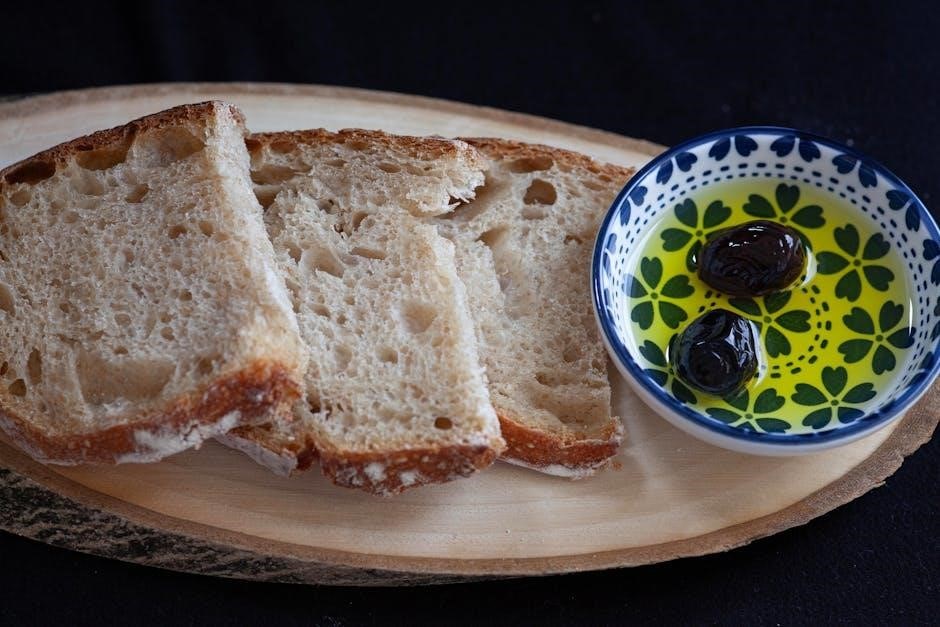
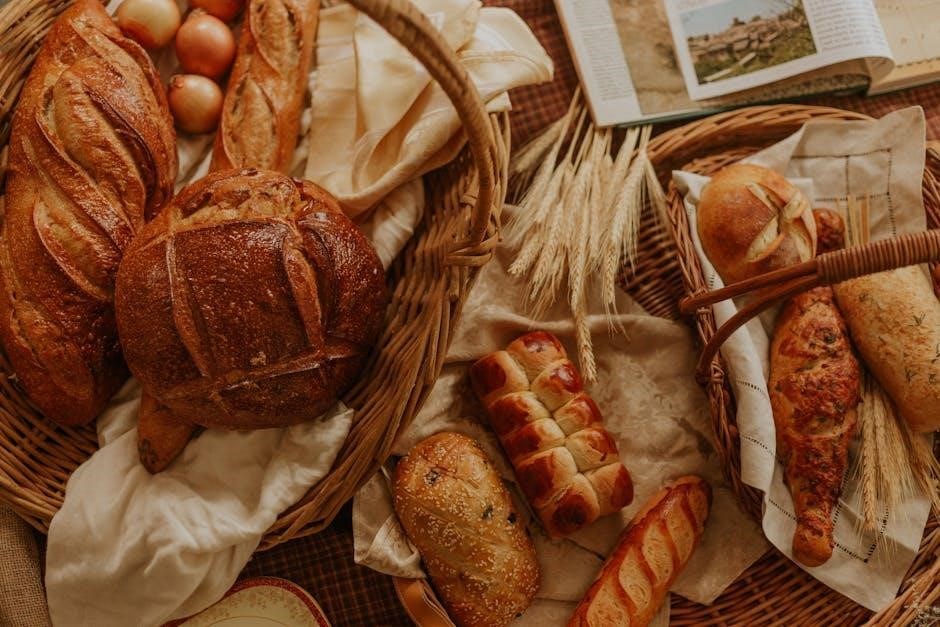
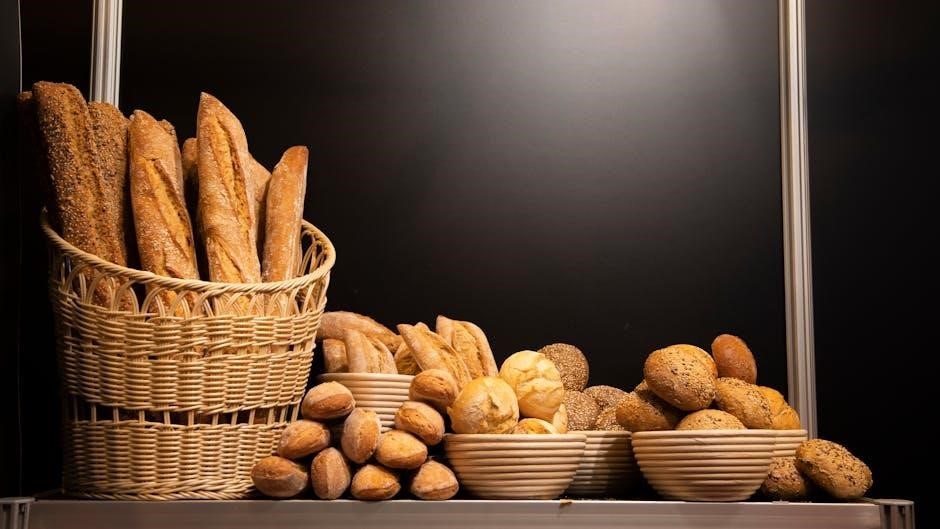
With your active sourdough starter‚ you’re ready to bake delicious bread‚ focaccia‚ and more. Explore new recipes‚ experiment with flavors‚ and enjoy the rewards of homemade baking.
Using Your Starter for Baking
Once your sourdough starter is active and bubbly‚ it’s ready to use in baking. Start by incorporating it into your dough recipes for authentic sourdough bread‚ pancakes‚ or focaccia. For bread‚ mix the starter with flour‚ water‚ salt‚ and sometimes yeast for a lighter texture. Always ensure your starter is at room temperature and fed before using it for the best results. Experiment with different flours and ratios to enhance flavor. Keep leftover starter for future bakes or store it in the fridge to slow down fermentation.
- Use 1:1:1 ratio of starter:flour:water for a classic bread recipe.
- Adjust hydration levels based on the type of bread you’re making.
- Let dough rest longer for a more sour flavor.
Happy baking!
Additional Resources for Further Learning
Mastering sourdough baking is a lifelong journey‚ and there are countless resources to deepen your knowledge. Explore books like “The Sourdough School” by Vanessa Kimbell or “Flour Water Salt Yeast” by Ken Forkish for expert insights. Online communities‚ such as The Fresh Loaf or Sourdough subreddit‚ offer tips and troubleshooting. YouTube channels like King Arthur Baking and Breadwerx provide video tutorials. Attend local baking workshops or join online masterclasses for hands-on learning. These resources will help you refine your skills and explore advanced techniques in sourdough baking.
- Books: Detailed guides for every skill level.
- Forums: Connect with fellow bakers worldwide.
- Videos: Visual step-by-step instructions.
- Workshops: Hands-on practice and expert advice.