Welcome to the Simrad GO7 user manual! This guide provides comprehensive instructions for installing, configuring, and operating your device. Discover its features, troubleshooting tips, and maintenance procedures to ensure optimal performance.
Overview of the Simrad GO7
The Simrad GO7 is a compact, multifunctional marine display designed for intuitive navigation and sonar capabilities. It offers a high-contrast screen, visible in direct sunlight, and supports various sonar frequencies for detailed underwater imaging. The unit integrates GPS for precise location tracking and waypoint management. Compatible with smartphones and tablets, it allows control of onboard systems and features built-in sonar technology. Ideal for both recreational and professional use, the GO7 is easy to install and customize, ensuring optimal performance for diverse marine activities. Its robust design and user-friendly interface make it a reliable choice for enhancing your boating experience. Refer to the manual for detailed specifications and installation guides.
Key Features and Benefits
The Simrad GO7 offers a high-contrast display for excellent visibility, even in direct sunlight, and supports advanced sonar capabilities for detailed underwater imaging. Its built-in GPS provides precise navigation and waypoint management, while compatibility with smartphones and tablets allows seamless control of onboard systems. The unit is compact and easy to install, making it ideal for both small and large vessels. Key benefits include enhanced situational awareness, customizable settings, and integration with various marine electronics. The GO7 also supports multiple sonar frequencies, ensuring optimal performance for different fishing and navigation needs. Its user-friendly interface and robust design make it a versatile solution for marine enthusiasts, combining functionality with reliability.

Installation and Setup
Install the Simrad GO7 by mounting the unit securely, connecting the transducer, and linking interfaces. Ensure proper power supply and follow manual guidelines for optimal setup and performance.
Hardware Installation Requirements
Ensure your Simrad GO7 installation meets all hardware requirements. Mount the unit in a location with clear visibility, avoiding direct sunlight for optimal screen performance. Secure the device firmly to prevent vibration or movement. Connect the transducer according to the manual’s specifications to ensure accurate sonar readings. Verify all interface cables are properly linked to the harness behind the dash, matching each engine’s configuration. Check power supply connections to guarantee stable voltage between 10-15V DC. Refer to the installation guide for detailed steps and diagrams to ensure a successful setup and reliable operation of your Simrad GO7 system.
Connecting the Transducer and Interfaces
Properly connecting the transducer and interfaces ensures optimal performance of your Simrad GO7. Begin by selecting the correct transducer type from the menu to match your sonar module. Physically connect the transducer cable to the designated port on the GO7. Next, link the interface cables to the appropriate harness points behind the dash, ensuring secure connections for engine data and other peripherals. Refer to the installation manual for specific cable assignments and configurations. Once all connections are made, power on the unit and verify that sonar and GPS signals are received. Proper connections are critical for accurate readings and reliable operation of your system.
Mounting the Unit for Optimal Performance
Mounting the Simrad GO7 correctly is essential for optimal functionality. Choose a location with clear visibility and minimal glare, ideally out of direct sunlight for better screen visibility. Ensure the unit is securely fastened using the supplied mounting bracket to prevent vibration or movement. Route cables neatly to avoid tangles and ensure proper connections. Level the unit to guarantee accurate readings and adjust the viewing angle for comfort. Refer to the installation manual for detailed mounting instructions. Proper placement enhances both performance and user experience, ensuring reliable navigation and sonar operation while on the water.
GPS and Sonar Functionality
The Simrad GO7 combines advanced GPS navigation with versatile sonar capabilities, offering accurate location tracking and detailed underwater imaging. Its sonar supports multiple frequencies for enhanced fish detection and bottom mapping, while GPS provides reliable navigation with waypoint management. The unit also features CHIRP sonar technology for superior clarity and target separation. These functionalities make it an essential tool for anglers and boaters seeking precise navigation and sonar performance on the water.
Configuring GPS Settings for Accurate Navigation
To ensure precise navigation, configure the GPS settings on your Simrad GO7 by selecting the correct GPS mode and enabling satellite systems like GLONASS for improved accuracy. Set your location format to match your region, such as degrees, minutes, and seconds or decimal degrees. Input the correct time zone and adjust the compass offset if necessary. Enable WAAS or EGNOS for satellite augmentation to enhance positioning. Regularly update your GPS charts and software to maintain current data. For optimal performance, ensure the unit has a clear view of the sky and avoid mounting it near metal objects that could interfere with satellite signals. Contact Simrad support for assistance with complex configurations.
Understanding and Adjusting Sonar Frequencies
Understanding sonar frequencies is crucial for maximizing your fishing and navigation experience with the Simrad GO7. The device typically operates at frequencies like 50kHz, 83kHz, or 200kHz, with higher frequencies providing better target resolution in shallower waters and lower frequencies offering deeper penetration. Adjust the frequency based on water depth and conditions to optimize performance. For example, use higher frequencies in shallow waters for detailed fish and structure detection, while lower frequencies are ideal for deeper waters. Experiment with settings to reduce clutter and enhance clarity. Adjustments can be made via the menu, allowing you to customize sonar performance for your specific fishing needs and conditions.
Navigation and Waypoint Management
Effortlessly manage navigation, create waypoints, and plan routes with the Simrad GO7. Utilize the MOB function for emergencies and ensure precise tracking on every voyage.
Creating and Editing Waypoints
Creating and editing waypoints on the Simrad GO7 is straightforward. Use the touchscreen to mark locations or manually enter coordinates. Name and organize waypoints for easy reference. Edit existing waypoints by selecting and adjusting their positions or labels. The GO7 allows you to store multiple waypoints, enabling precise navigation. Use the MOB function to quickly mark a man-overboard location. Waypoints can be grouped into routes for complex journeys. The interface provides visual feedback on charts, ensuring accuracy. Regularly update waypoints to adapt to changing conditions. For detailed steps, refer to the Simrad GO7 user manual, available online for easy access and updates.
Using MOB (Man Overboard) Functionality
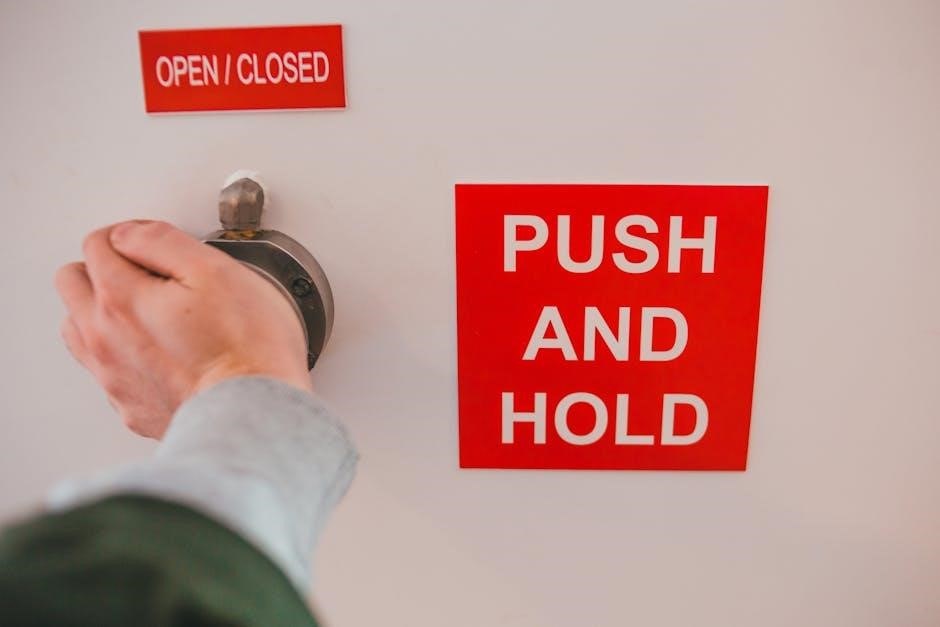
The Simrad GO7 offers a critical safety feature with its MOB (Man Overboard) functionality. In an emergency, press and hold the MOB button to mark the exact location of the incident. The system will immediately plot the position and provide navigation options to return to the marked waypoint. This feature is essential for quick response and recovery operations. The MOB function integrates seamlessly with the GPS, ensuring accurate and reliable performance. Regularly review the Simrad GO7 user manual for detailed instructions on activating and using this lifesaving feature effectively. Proper use enhances safety and ensures prompt assistance in critical situations.

Troubleshooting Common Issues
Diagnose power and connectivity problems by checking connections and restarting the unit. Resolve sonar and GPS signal loss by ensuring proper transducer alignment and software updates.
Diagnosing Power and Connectivity Problems
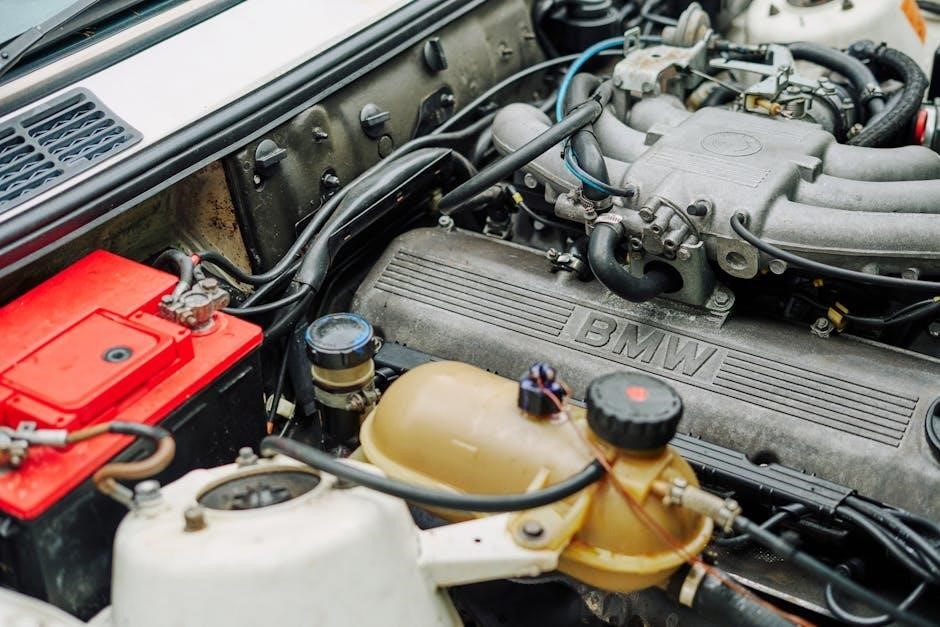
Start by verifying the power supply and ensuring all connections are secure. Check the battery voltage and wiring for any signs of damage or corrosion. If the unit doesn’t turn on, inspect the fuse and circuit breaker. For connectivity issues, ensure NMEA 2000® or Ethernet cables are properly connected. Restart the device to reset any temporary glitches. If problems persist, update the software to the latest version. Consult the manual for specific troubleshooting steps or contact Simrad support for further assistance. Regular maintenance and checks can help prevent these issues and ensure smooth operation.
Resolving Sonar and GPS Signal Loss
To resolve sonar signal loss, ensure the transducer is properly connected and configured. Verify that the correct transducer model is selected in the settings; For GPS issues, check satellite visibility and signal strength. Restart the unit and ensure it has a clear view of the sky. Update the software to the latest version if issues persist. Check all connections and antennas for damage or obstruction. Consult the manual for detailed troubleshooting steps or contact Simrad support for assistance. Regular system checks can help prevent signal loss and maintain optimal performance. Always refer to the manual for specific instructions tailored to your device.

Software Updates and Maintenance
Regularly check for software updates on simrad-yachting.com to ensure optimal performance. Perform routine system checks and maintenance to keep your GO7 running smoothly and securely.
Downloading the Latest Software Version
To ensure your Simrad GO7 performs optimally, regularly check for software updates on the official Simrad website (simrad-yachting.com). Visit the support section, select your device model, and download the latest version. Use a compatible SD card to transfer the update file to your GO7. Insert the card into the unit’s card reader and follow on-screen prompts to install the update. Always power the unit directly from the battery during the update to avoid interruptions. Once completed, restart the device to apply the changes. This ensures you have the latest features, bug fixes, and performance improvements.

Performing Routine System Maintenance

Regular maintenance ensures your Simrad GO7 operates at peak performance. Start by updating your software to the latest version available on the Simrad website. Clean the display with a soft cloth and mild screen cleaner to maintain visibility. Inspect all connections, including the transducer and power cables, for damage or corrosion. Check the transducer for debris or fouling, as this can affect sonar accuracy. Backup your waypoints and settings before performing any system updates or resets. Finally, store the unit in a dry, cool place when not in use to prevent damage. Regular maintenance ensures reliable operation and extends the life of your device.
Additional Resources
Accessing Online Manuals and Guides
To access the Simrad GO7 user manual and other resources, visit the official Simrad Yachting website; Manuals are available for free download in PDF format and are regularly updated to reflect the latest software releases. You can also read manuals directly from a memory card inserted into the unit’s card reader or copy them to the device for offline access. For troubleshooting or additional support, refer to the Simrad Technical Support page or contact customer service at 1-800-628-4487 (Canada: 855-361-1564).
Contacting Simrad Customer Support
For assistance with your Simrad GO7, contact customer support at 1-800-628-4487 (Canada: 855-361-1564). Visit the Simrad Technical Support page for troubleshooting guides, FAQs, and software updates. You can also submit queries online or access resources like installation manuals and user guides. Ensure your device is registered for warranty and updates. The support team is available to address installation, operation, and maintenance inquiries, helping you maximize your GO7’s performance. Refer to the official website for detailed contact information and regional support options.